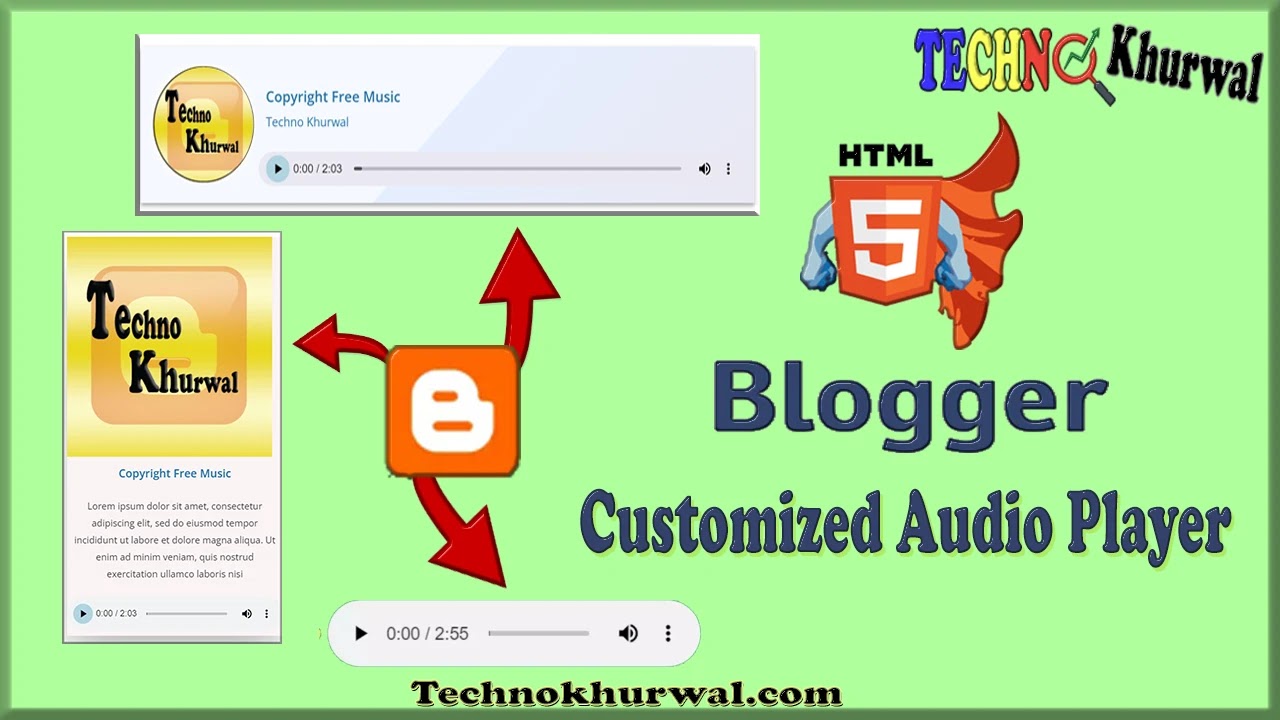
Are you running your website on blogger and you want to show a customized HTML audio player with a new design in it then you have come to the right post. Through this post, I will show you how to install an audio player in a blogger post and its settings with the help of HTML code. So let's start
01. Basic Audio Player Blogger
All you need is an audio file to add this blogger basic audio player. Which you can upload to Google Drive or any other audio file hosting site and generate file link. Because as you must be aware of this, it is not possible to upload direct audio file on blogger.
Now go to the blogger dashboard, open the post in html view and paste the below html and css code in it.
02. Custom- Designed Audio Player 01
For this you need an image file and an audio file.
Now go to blogger dashboard, open the post in html view wherever you want this player to appear and paste the below HTML and CSS code there.
- Image : Your Image Code Here
- Song Name : Copyright Free Music
- Artist : Techno Khurwal
- Audio File : Your Audio File Link Here
03. Custom- Designed Audio Player 02
For this you need an image file and an audio file.

Lorem ipsum dolor sit amet, consectetur adipiscing elit, sed do eiusmod tempor incididunt ut labore et dolore magna aliqua. Ut enim ad minim veniam, quis nostrud exercitation ullamco laboris nisi
- Image : Your Image Code Here
- Audio File : Your Audio File Link Here


All the blogger templates and rest of the information shared by us on this website is intended only and only to help people. We do not want to give any premium file to any company for free through our website and we do not do any kind of wrongdoing. If you still want this content not to appear on our page, then contact us. We will remove this content immediately.
Do not forget to tell us how you liked this article by commenting below.